Running JPC
 |
|
Command line options
A typical command to start JPC is:
java -jar JPCApplication.jar -boot fda -fda floppy.img -hda dosgames.img
The full list of options available are:
- -boot (fda|hda|cdrom) This tell JPC what device to boot from.
- -fda c:\drives\floppy.img The path to the floppy drive image (optional).
- -hda c:\drives\harddisk.img The path to the first hard disk image (optional).
- -hdb c:\drives\harddisk2.img The path to the second hard disk image (optional).
- -cdrom c:\drives\cdrom.iso The path to the cdrom image (optional).
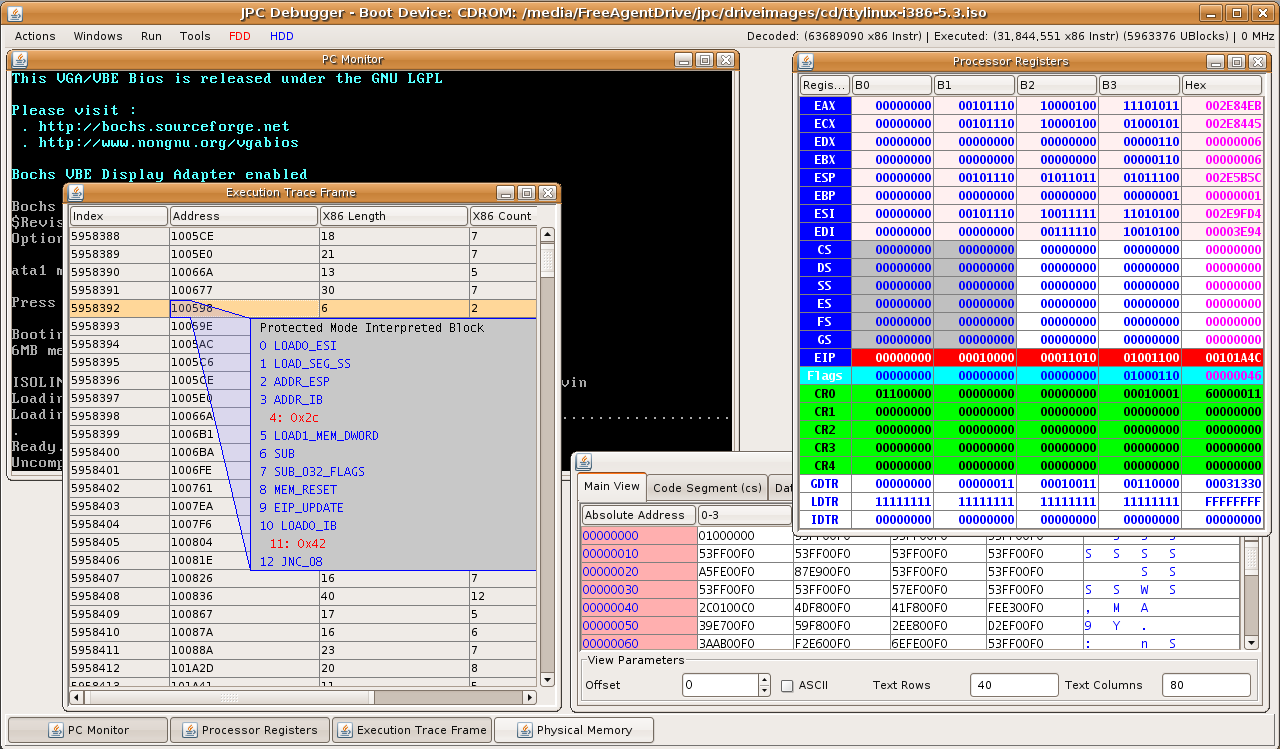
JPC Debugger
The JPC debugger allows you to run x86 code step by step, use breakpoints, memory watchpoints, directly view the memory, cpu state etc in a nice colourful GUI. Download the debugger now.
Once you've set your disks in the debugger (you can pass command line options identical to the Application or just use the menus), click "create new pc" in the File menu. Then to start execution click "start" in the run menu.
Here's a screenshot of the JPC debugger, which is an incredibly powerful tool for breaking open the x86 architecture as well as a really useful teaching tool.